
It’s that time of year when we all have wonderful Graduations and Weddings to attend. If you know me, you know that I am an awesome gift giver. And by that I mean I give gift cards. Ha ha! It’s just so easy to get a gift card! With that being said, I still like to add my own personal touch to the gift giving process. Today, I have created 2 cards that hold gift cards: a Pop Up card and an Envelope card.
OTHER SUPPLIES: Adhesive Runner, Paper Trimmer, Score Board, Baker’s Twine, Scissors, Craft Knife and Cutting Mat, Notching Tool (optional)
We have included the free SVG cut files for these two cards so that if you own an electronic cutting machine (like a Silhouette, Cricut or Brother Scan N Cut), you can create these cards easily. No digital cutting machine? No worries! We have also included PDF versions that you can print, cut and use as a template.
If you use the SVG files and cut these on your machine, you can skip the next step. If you are using the PDF and creating a template, please follow the next step.

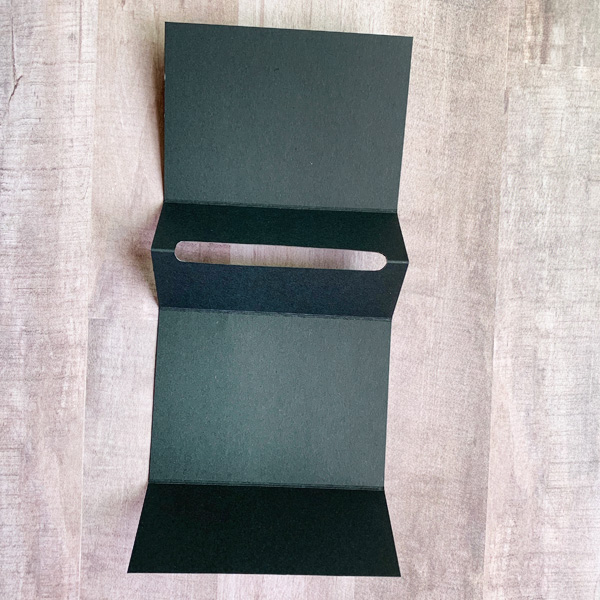
First, print the PDF and cut out. Place the paper template on the Kelly Creates paper of your choice from the Project Pad. With a pencil, trace the template and then cut out the card with scissors. For the pop up card, you can use a craft knife to cut out the oval center section OR score, fold and then cut on the fold with scissors. Next, score the lines using a scoring tool. I use the We R Memory Keepers Trim and Score Board (see shopping link below). Your cards should look like this:

It’s difficult to see the score lines on the black cardstock, so score your card at 3”, 4.5”, 6” and 9”. The 4.5” score line will run through the long oval cut out.

For both SVG and PDF users:
The next step is to fold the cards and adhere them together. For the Pop up card, the folds are accordion style like this:

Next step is to glue the two panels that have the long oval together. Be sure to only adhere closest to the fold, and away from the long oval cut out. The gift card needs to go in there, and if the glue is too close, it will not slide in.
This is what it will look like once it is adhered:

Now insert the gift card and it should pop up!

You can get creative and decorate the panels and outside of the card. When folded, it creates its own envelope!

I used the Kelly Creates Galaxy Paper Pad and chose the gold-foiled floral paper since this was for a wedding. I trimmed the paper to fit the two panels where we can express wishes and sign the card.

Next, I folded the card and used the Kelly Creates Metallic Bullet tip Bronze pen to write “Mr. & Mrs. “ in faux calligraphy. I finished the card with some baker’s twine, and added a small “celebrate” tag!

For gift card #2: Envelope Card – Score as shown on the template. Fold the side tabs in and add adhesive to the wide part.
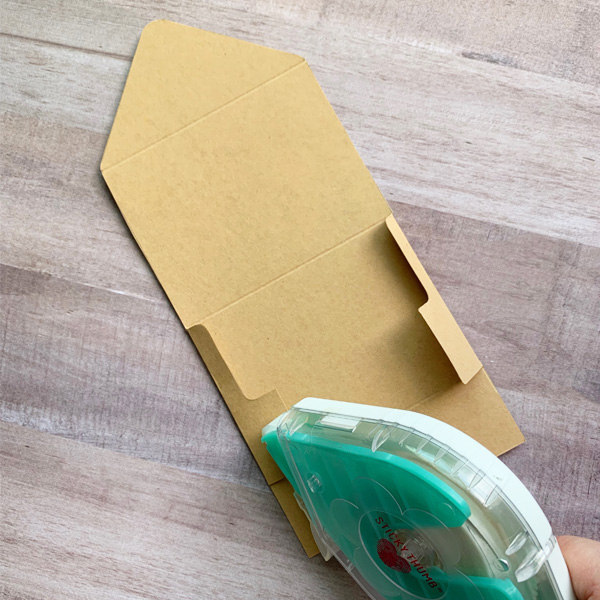
Add your gift card or even monetary gift in the pocket


Flip up the bottom panel and adhere to the tabs. I added a notch with my notching tool to tuck the top flap into, but this is not necessary. You can use your craft knife to cut the slit, or just adhere it with cute washi tape.

Next, I folded the card and added some Kelly Creates Rub ons! You know I love, love, love these rub ons. If you’re not comfortable writing, or want to quickly add a sentiment, these rub on like butter! They are the best quality.
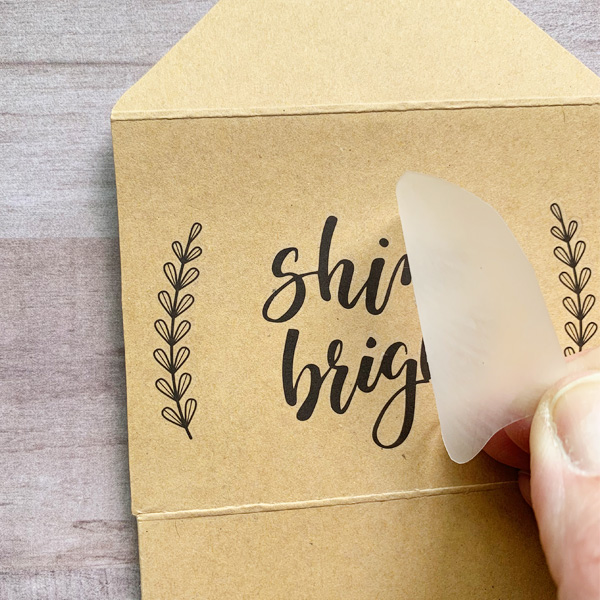
I chose some leaf stems and the sentiment “Shine Bright” since this is for a graduation.

I finished the card with adding a small ‘congrats’ tag written with the Kelly Creates 005 Fineliner on the white Kelly Creates smooth card stock from the Project Pad. I punched a hole in it and added it to the baker’s twine.
FREE DOWNLOADS:
(in DropBox, a free app)
These cute little gift card holders are just as much fun to make as they are to give! You can personalize them for any occasion. Thanks for stopping by today!
I love giving gift cards too, and these two personalized holders will make them extra special. Thank you, Chasity, for your crafty ideas that are always practical AND pretty.
For more crafty and creative DIY ideas, follow Chasity on Instagram @chiciscre8ive.
To shop for supplies Chasity used in this project, click the affiliate shopping links below: